At Make Do we needed a tool that would let us build our project assets dynamically on the server (Sass, JS, etc) and continuously deploy to our production and staging environments without any headaches for our engineers.

Enter DeployHQ ‘Build Pipelines’
We’d been struggling in the past with clashing compiled code in Git when working as a team on WordPress projects. This would often lead to merge conflicts between our engineers and major headaches for our testing team often leading to heated painful discussions in our company Slack channels!
Thankfully two years ago the team at DeployHQ introduced the first beta of what would become ‘Build Pipelines‘ to their system. We’ve been using these since they were in early beta and this wonderful feature is now available to users all of their service.
Build Pipelines were a real gamechanger for our team as they allowed us to offset the compilation and deployment of project code entirely to the DeployHQ platform without having to invest in creating and maintaining our own build-server.
How to use DeployHQ with WordPress-based Projects
Like many other teams we use Git and store project code and share via GitHub. There are sometimes hundreds of commits and many different team members working on a codebase before it is deployed to a server for testing or launch.
There are lots of ways to deploy a project to a server, from good old FTP (not recommended), to SSH’ing into your server and using Git commands to pull down the latest changes to the deployment branch (also painful).
What is DeployHQ anyway?
DeployHQ offers an alternative to the messy and sometimes complicated deployment options. It’s a third-party service that handles all the hard work getting files from Git to our servers. It also works with ANY server so we can use it with our own hosting service or to deploy code to our partner servers that we only have limited access to.
With DeployHQ we can:
- Automatically deploy from a Git branch when it has changed
- Deploy to different servers in different locations using different transfer methods (SFTP, SSH, etc)
- Easily keep track of the deployments to your staging, testing and production servers
- Run custom build scripts during the deployment, so compiled code does not have to be stored in version control (this was the killer-app feature we’d been looking for!)
- Alert when a deployment completed
- Roll back if a deployment fails
Adding a New Site to DeployHQ
The dashboard looks something like this:
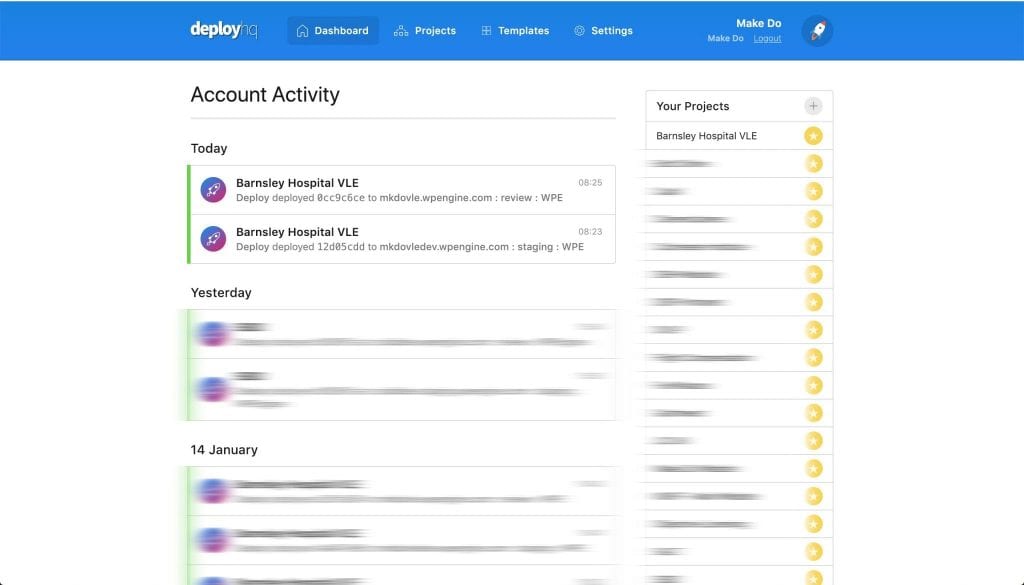
As you can see, all of your projects are listed on the right, and recent deployments are in the activity feed on the left.
Adding a Project
To add a new project, you can click the ‘+’ symbol next to ‘Your Projects’. You will be presented with the ‘New Project’ screen.
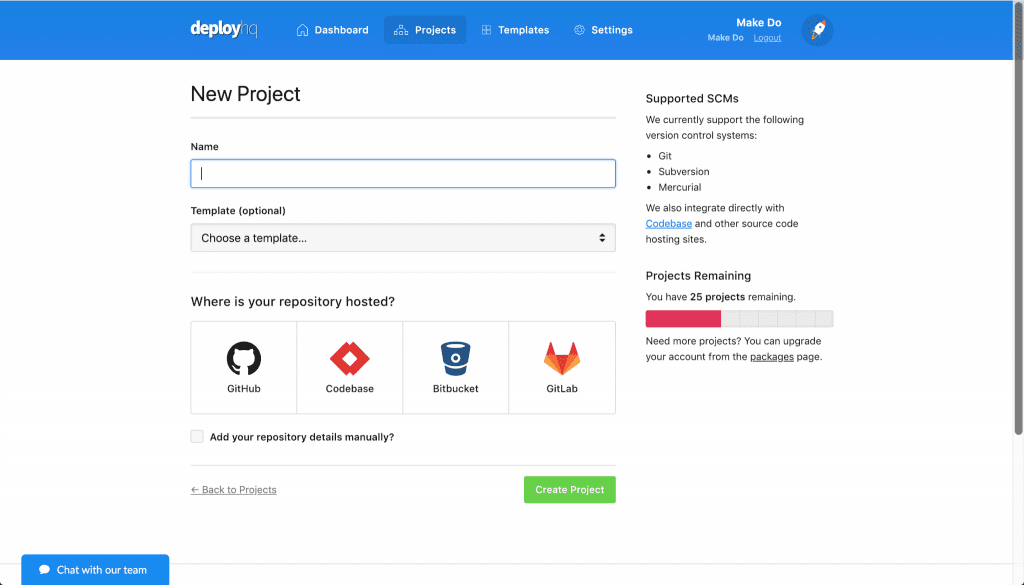
First, give your project a name. If you have created a project before you may have setup a template, but we will ignore that for now.
In our case our projects are hosted with GitHub, so we will select that from the ‘Where is your repository hosted’ option.
Once we have filled in all the details, click the ‘Create Project’ button.
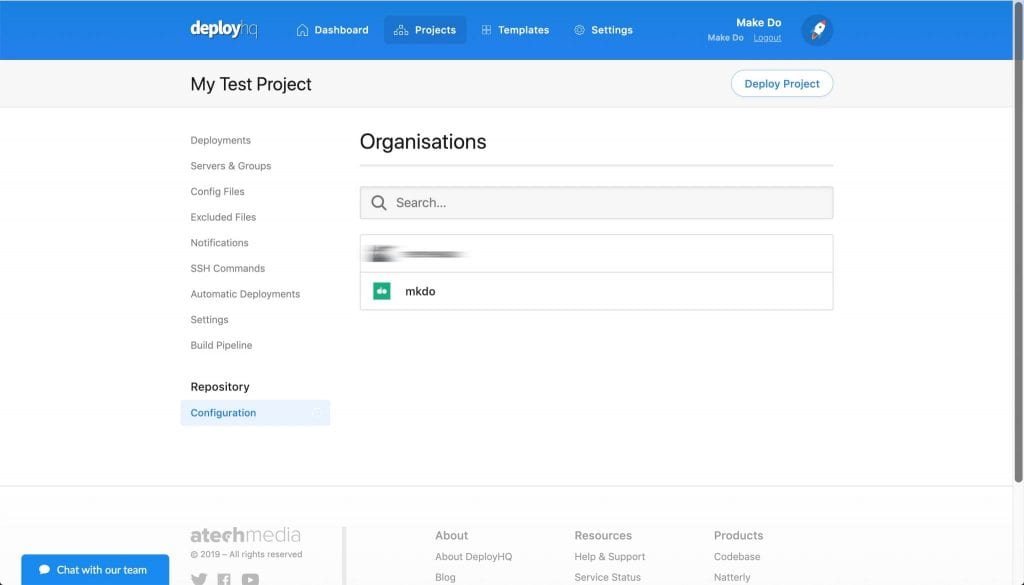
If you selected GitHub as a repository, you may be asked to authenticate, you will then be asked to choose an organisation to connect to:
You will then be asked to choose a repository from that organisation:
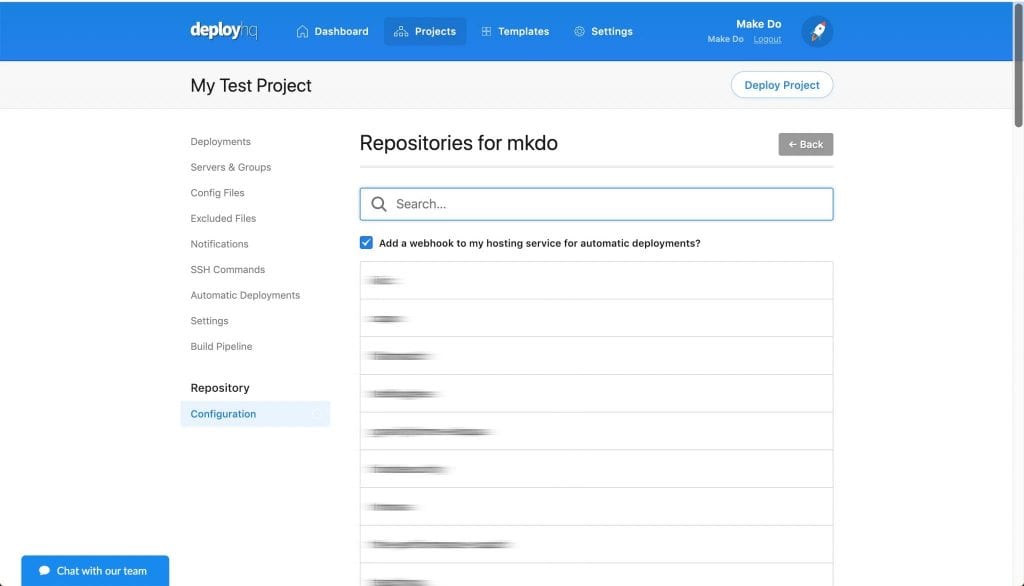
The system will then add all of the deployment hooks it needs to detect when a branch has been changed in GitHub.
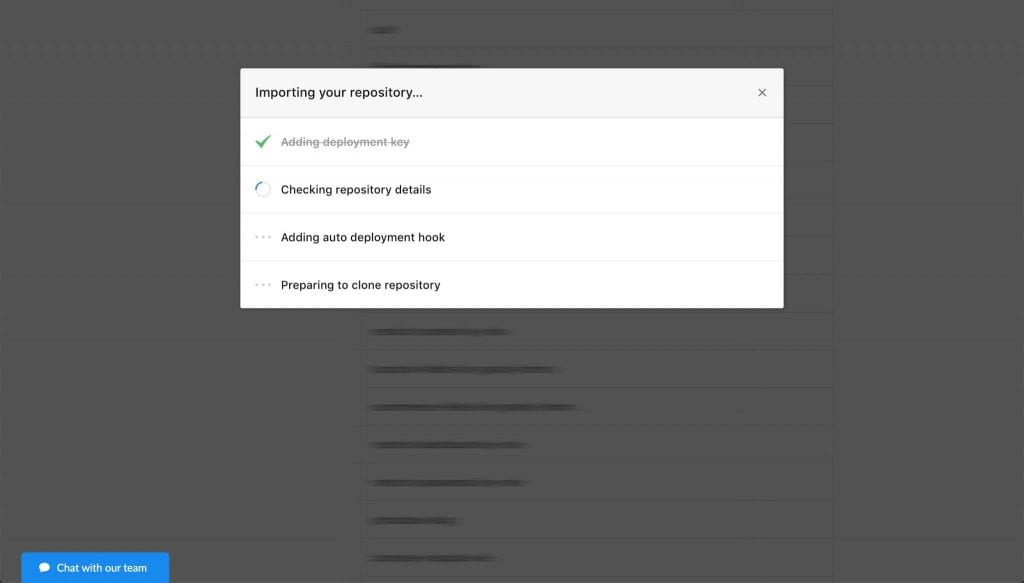
One you have done this you will be able to revisit the repository configuration at any time by choosing it from the left hand menu of your project.
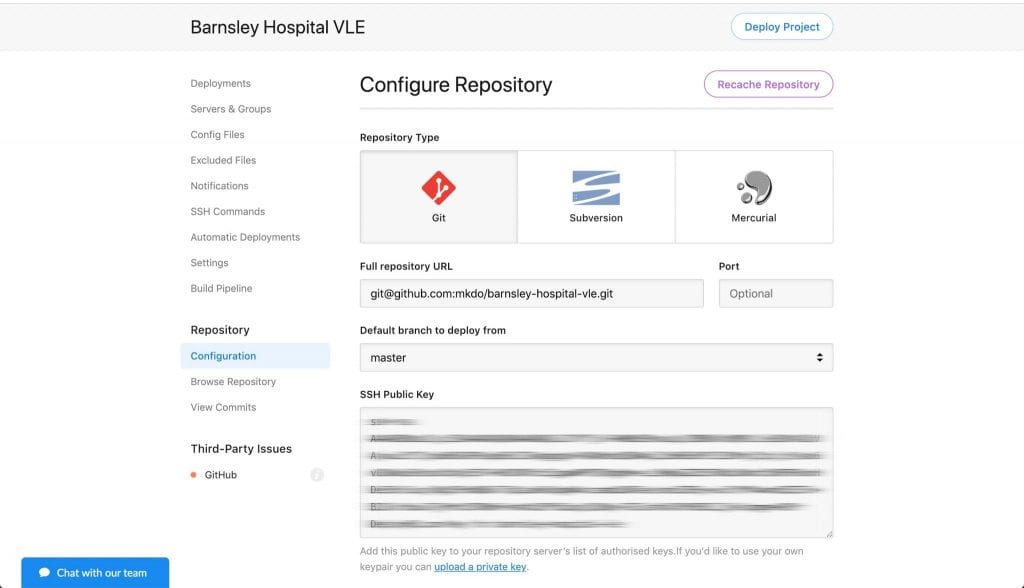
Setting up your Servers
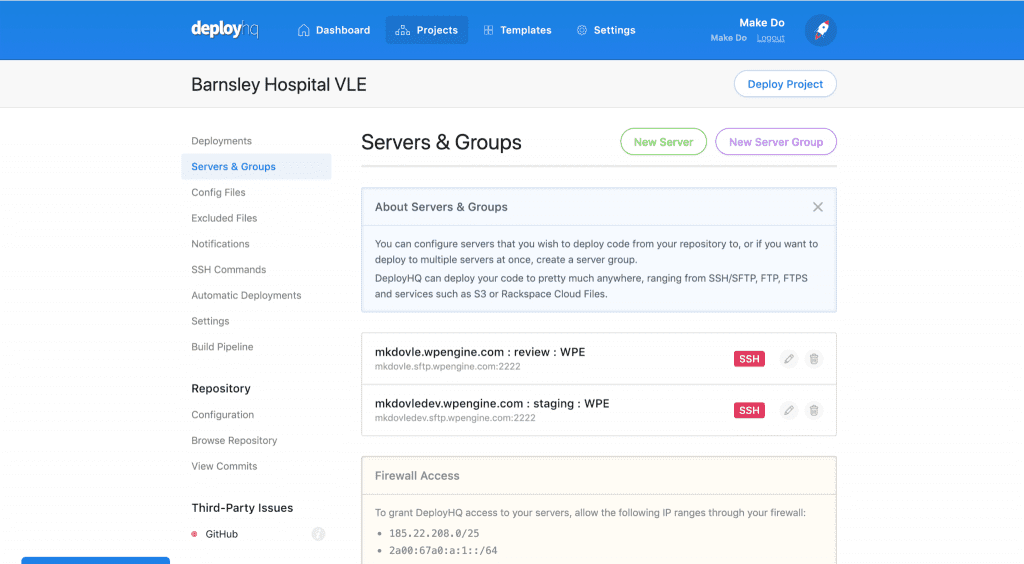
Something else you will need to setup for your project is the server(s) that you wish to deploy to. You can do this by selecting ‘Servers and Groups’ from the left hand menu of your project.
You can deploy to multiple servers within a project. We usually have several (review server, staging server, production server) each project in DeployHQ can have as many servers as you need.
If you have multiple servers setup you can choose which one to edit.
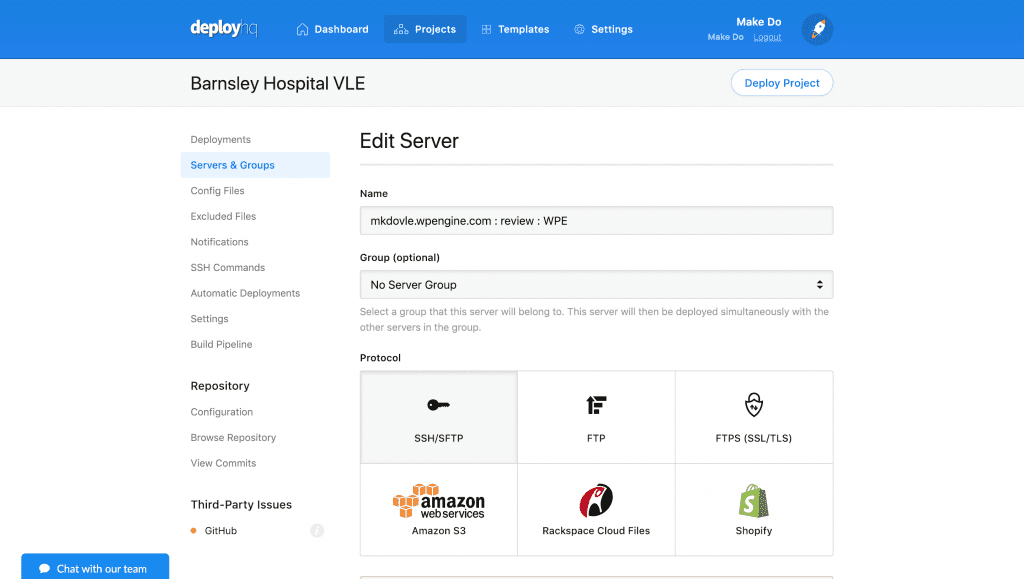
Clicking the pencil icon on a server will present you with the edit server screen. It is here that you can choose how to deploy to the server.
In this example we have SFTP set as our deployment protocol.
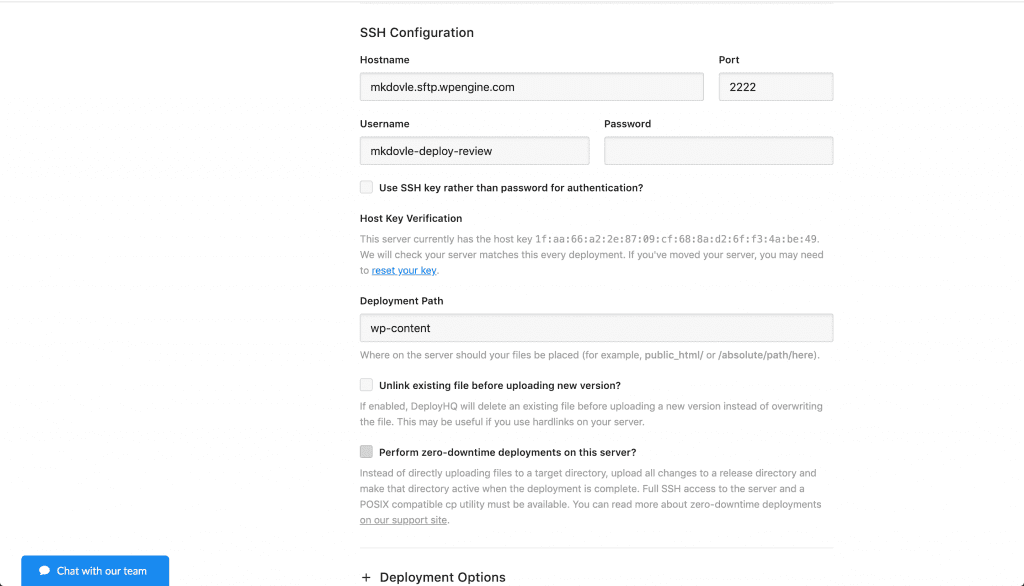
Further down the screen you can enter the SFTP details, and most importantly the path that you wish to deploy from.
Only deploying what you need
As we don’t want to deploy all of the WordPress environment and the config files that go with that, we just deploy the wp-content folder as that contains all of our themes and plugins.
This is another simple but powerful feature of DeployHQ and means that we can choose to just deploy certain plugins or themes for specific WordPress projects while leaving the rest of the codebase untouched.
Automating deployments from specific Git branches
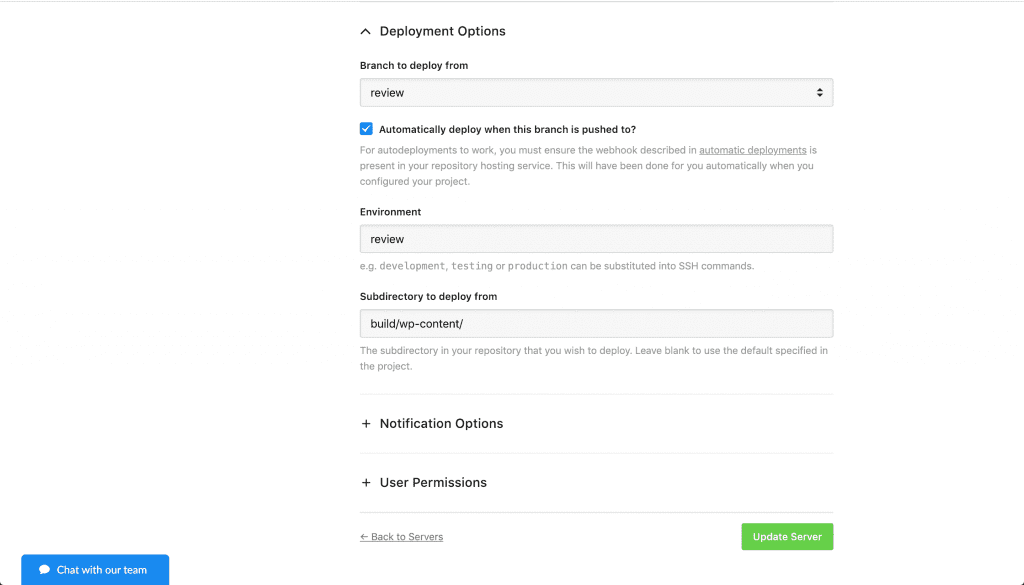
Further down we can associate which branch we want to deploy from, and using the GitHub webhook we can deploy to this server automatically whenever we push to that branch.
Setting up your Build Pipeline Configuration
All of our projects at Make Do need to compile assets using a build tool like Grunt, Gulp or Webpack before they are deployed to the server. If you don’t need this option for your projects then you can ignore the next steps.
As previously mentioned the DeployHQ ‘Build Pipeline’ system allows our team to run build commands externally in an isolated and secure environment.
During the configuration of a Build Pipeline you can choose which versions of Node, Ruby, Go, Python, Java, etc to use. The options are pretty extensive and being updated all the time!
Don’t forget to .gitignore
We have our compiled assets in our .gitignore file, as committing these files will cause conflicts and headaches, especially when a large team is working together on a project.
Creating your Build Pipleline
In this particular example we will use a bash script to install Yarn assets and compile with Grunt.
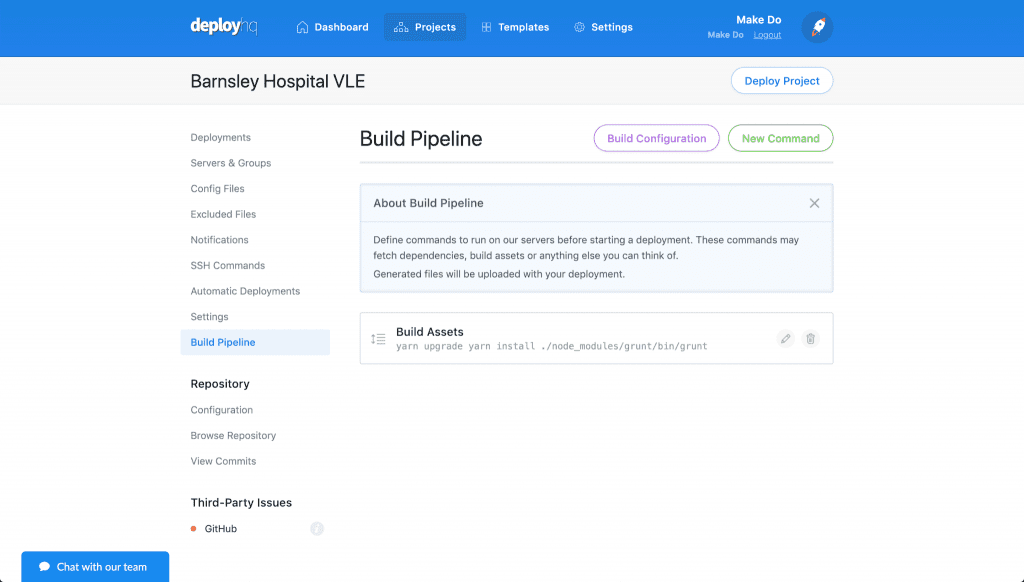
Clicking the pencil of the build command will let you edit it, you can choose from a bunch of templates, but as we have build scripts locally in our project via bash, we just cut and paste it into a custom build.
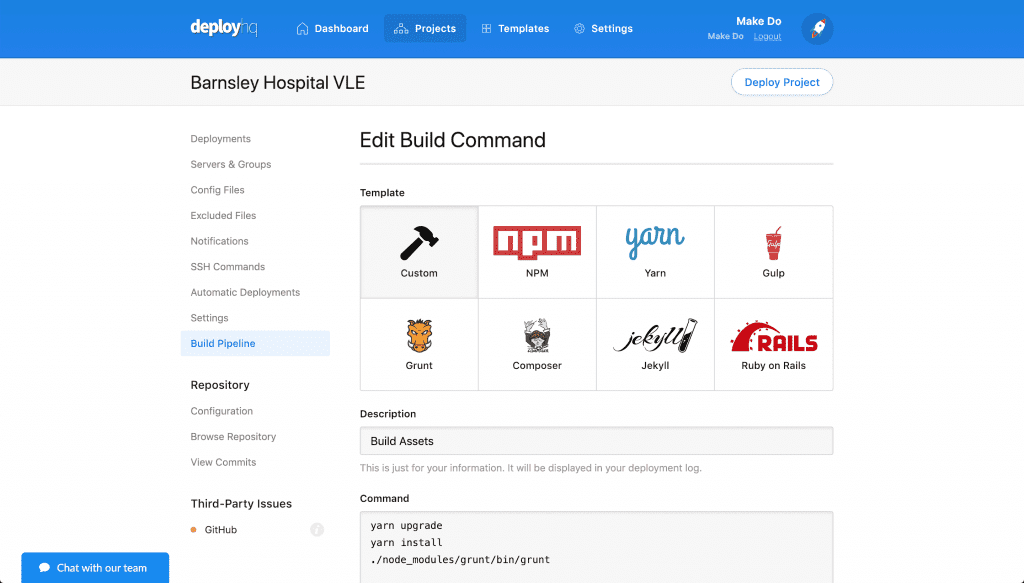
In this example the ‘Command’ needed is simply:
yarn upgradeyarn install./node_modules/grunt/bin/grunt
This tells DeployHQ that it needs to upgrade and install the Yarn dependencies before it can run the Grunt build script. It will basically runs the same script as on a local development environment as long as you have the correct dependencies loaded into your Git repo.
It really is that simple!
Deploying your compiled code!
This may surprise your but that’s it! Sure, you need to have pre-defined assets and dependancies in your project but if you’re running a project locally this should be all setup for you and DeployHQ will be able to easily ‘plug’ into this.
Bonus tip… If you need a WordPress Project Boilerplate that has pre-defined front-end dependencies and tried-and-tested build scripts check out MKDO Base. We use this as a starting point for all our projects at Make Do and it works great with DeployHQ.
You can now either manually trigger a deploy with the ‘Deploy now’ button, or push to the branch of your repository that auto deploys.
DeployHQ will track the change, build the assets and push it to the server through the protocol of your choice!
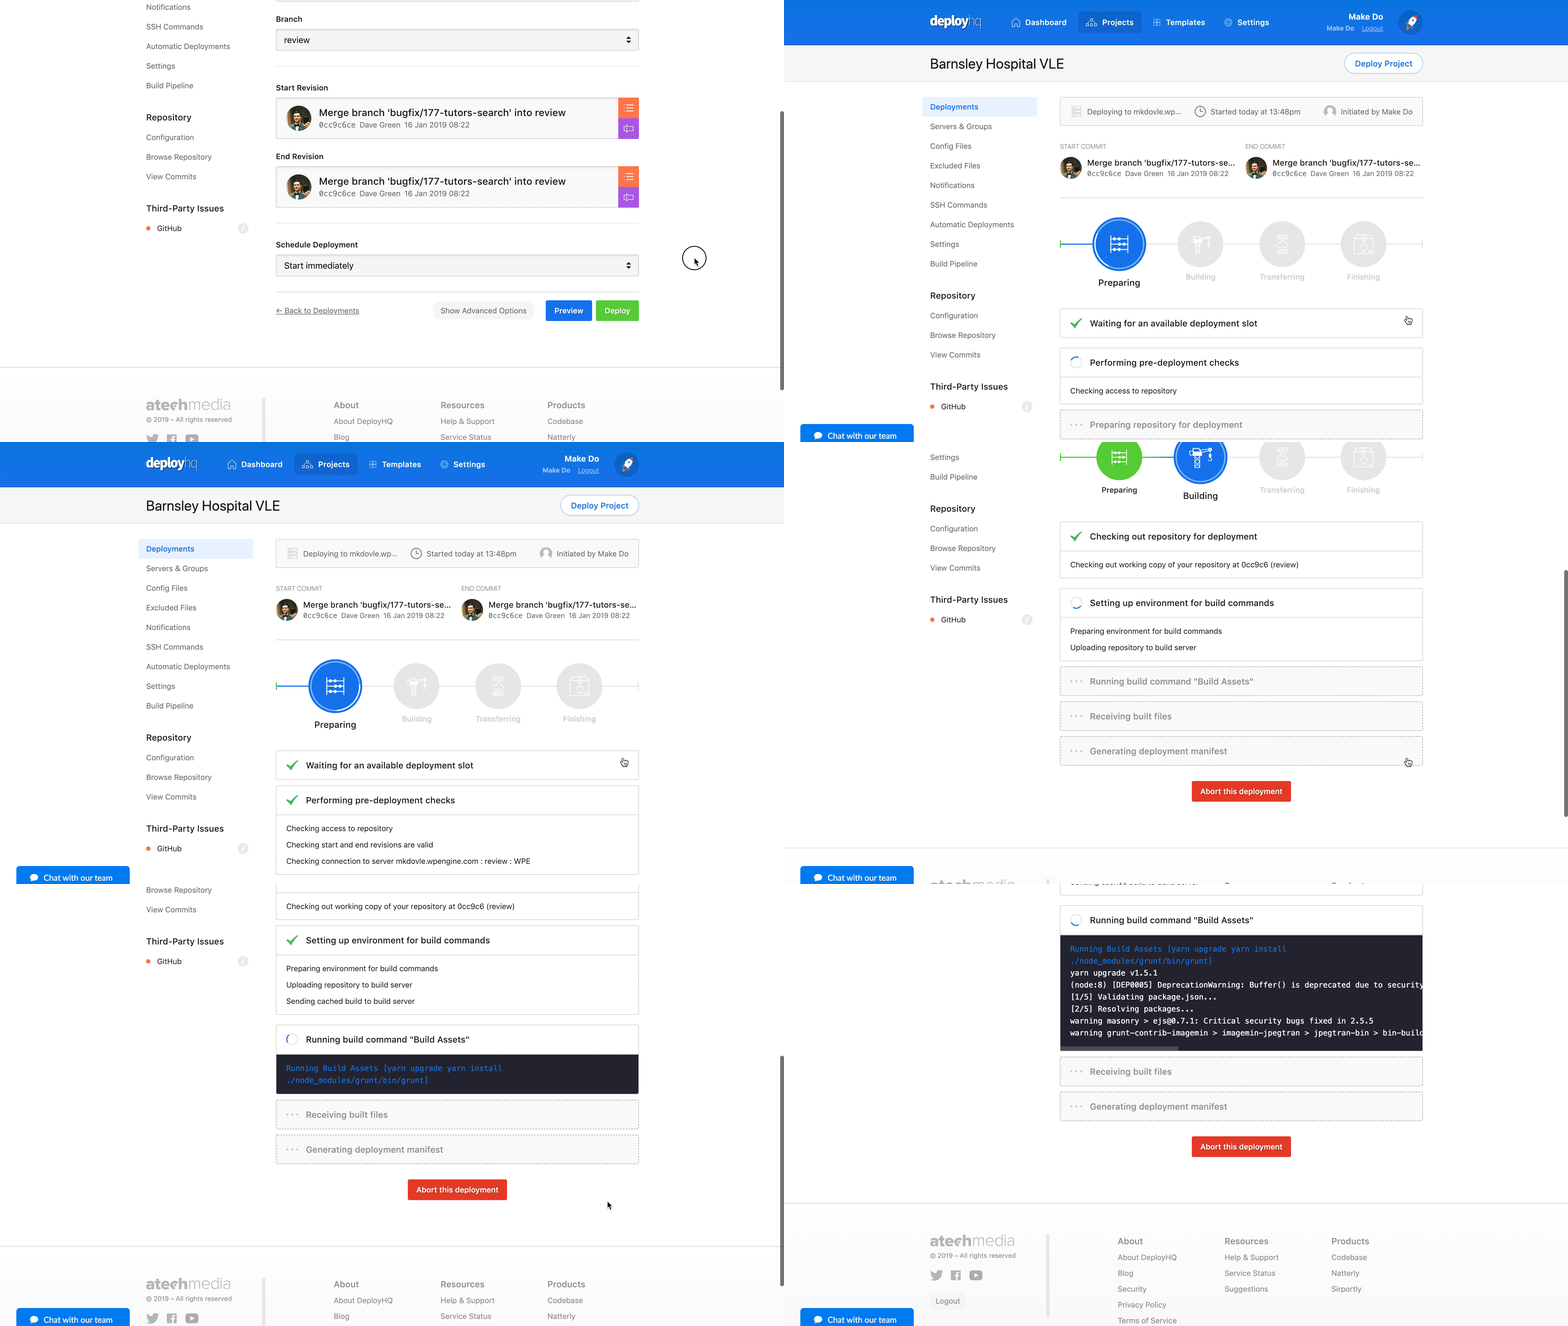
Once you have your deployments and builds setup you can rest safe in the knowledge that all the deployments will be handled seamlessly via continuous deployment via DeployHQ. If things break then you can even do a rollback!
Head over to DeployHQ to learn more. It’s been a pleasure working with them on the Build Pipeline beta and we’re convinced anyone that gives it a try will love it!


